eManager Software Update Guide
If you need to update the entire system image in your eManager Pro you can follow the steps detailed in this section.
Warning
Only eManager Pro has SWUpdate.
Note
The eManager Pro has a partition named
/datato prevent accidental data loss. For more details, please check here.
Step 1. Prepare the new image
First of all you have to prepare the new image that you want to deploy in your eManager. The eManager image has .swu extension.
For example, one of the last available image versions for the eManager is the following:
swupdate-emod-image-nodered-emanager-pro-v21.08.swu
We can see that the last part of the image specifies which version is the image. In this case the version is the one released in August 2021.
Step 2. Turn on your eManager
You have to turn on your eManager before proceeding to step 3.
Step 3. Connect to the software update tool
To access the software update tool you only need to put URL 10.1.10.10:8080. Once the eManager is started the following page appears.
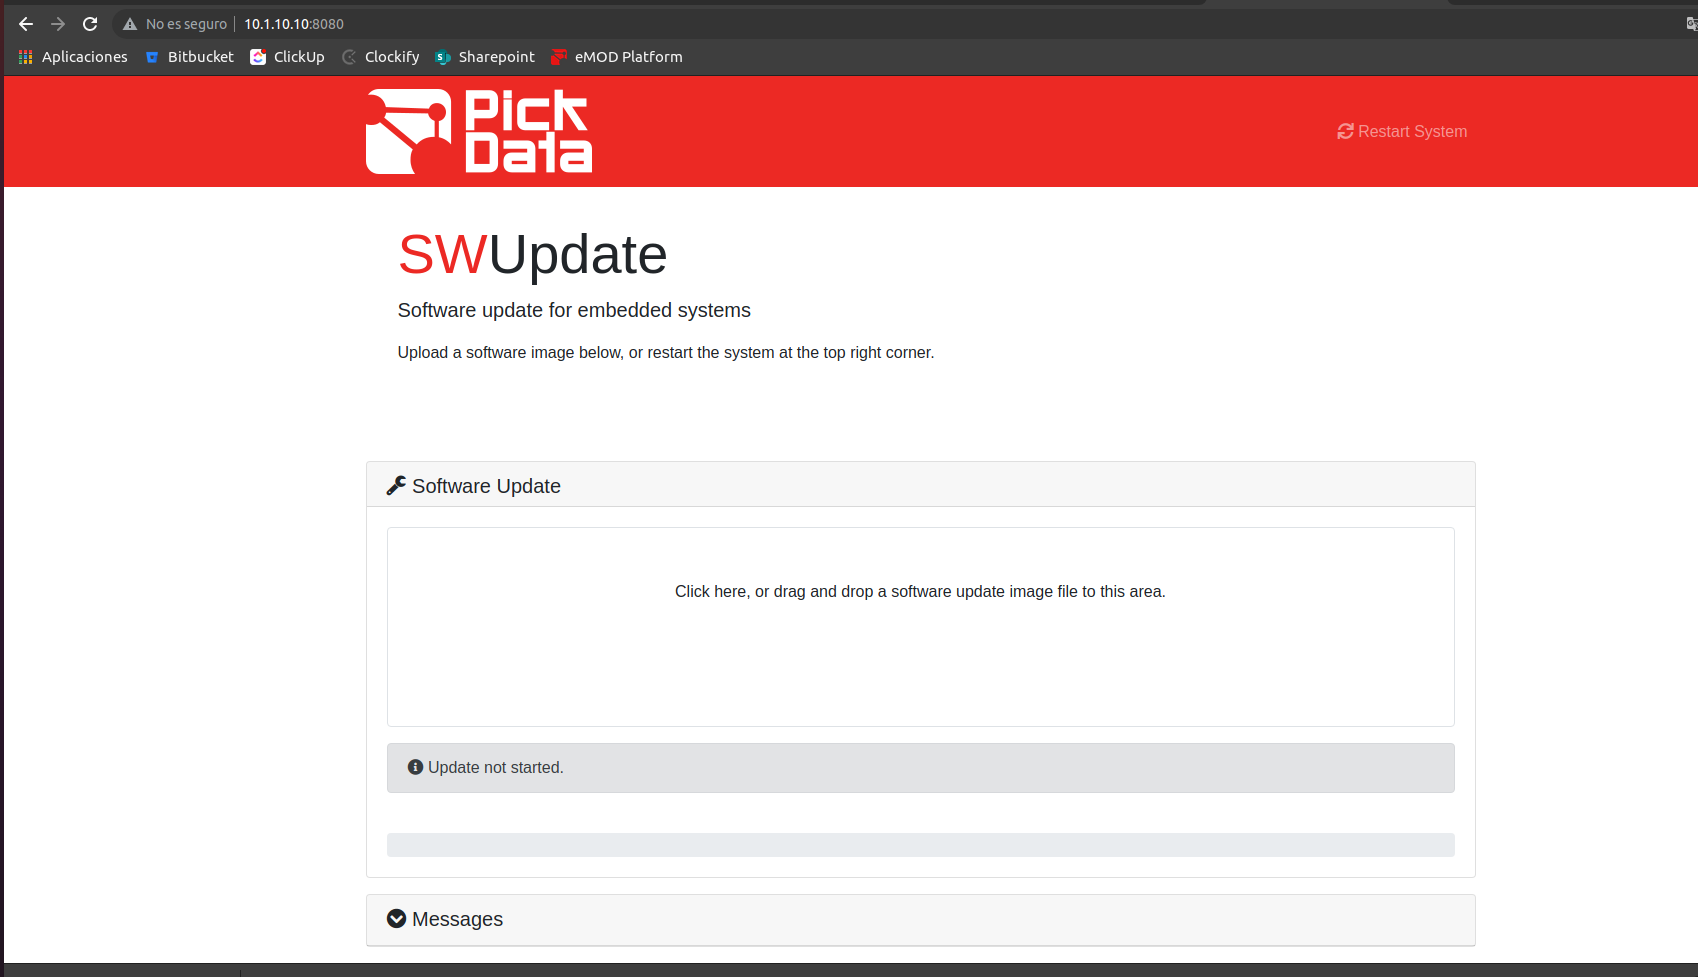
Step 4. Drag and drop
You have to update the file prepared in step 1, in this case, swupdate-emod-image-nodered-emanager-pro-v21.08.swu. To do that, you only have to drag and drop the file into the software update tool.
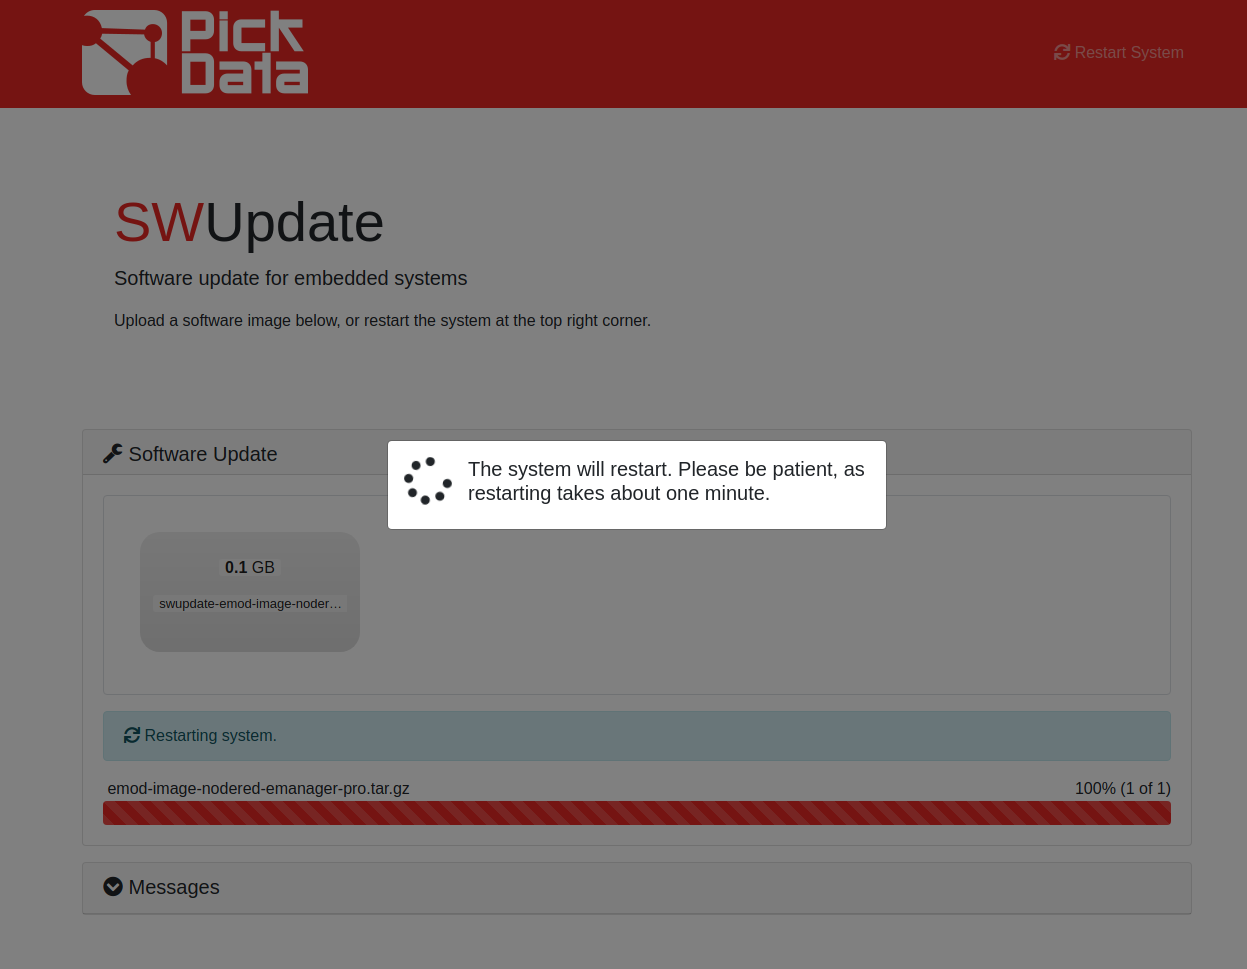
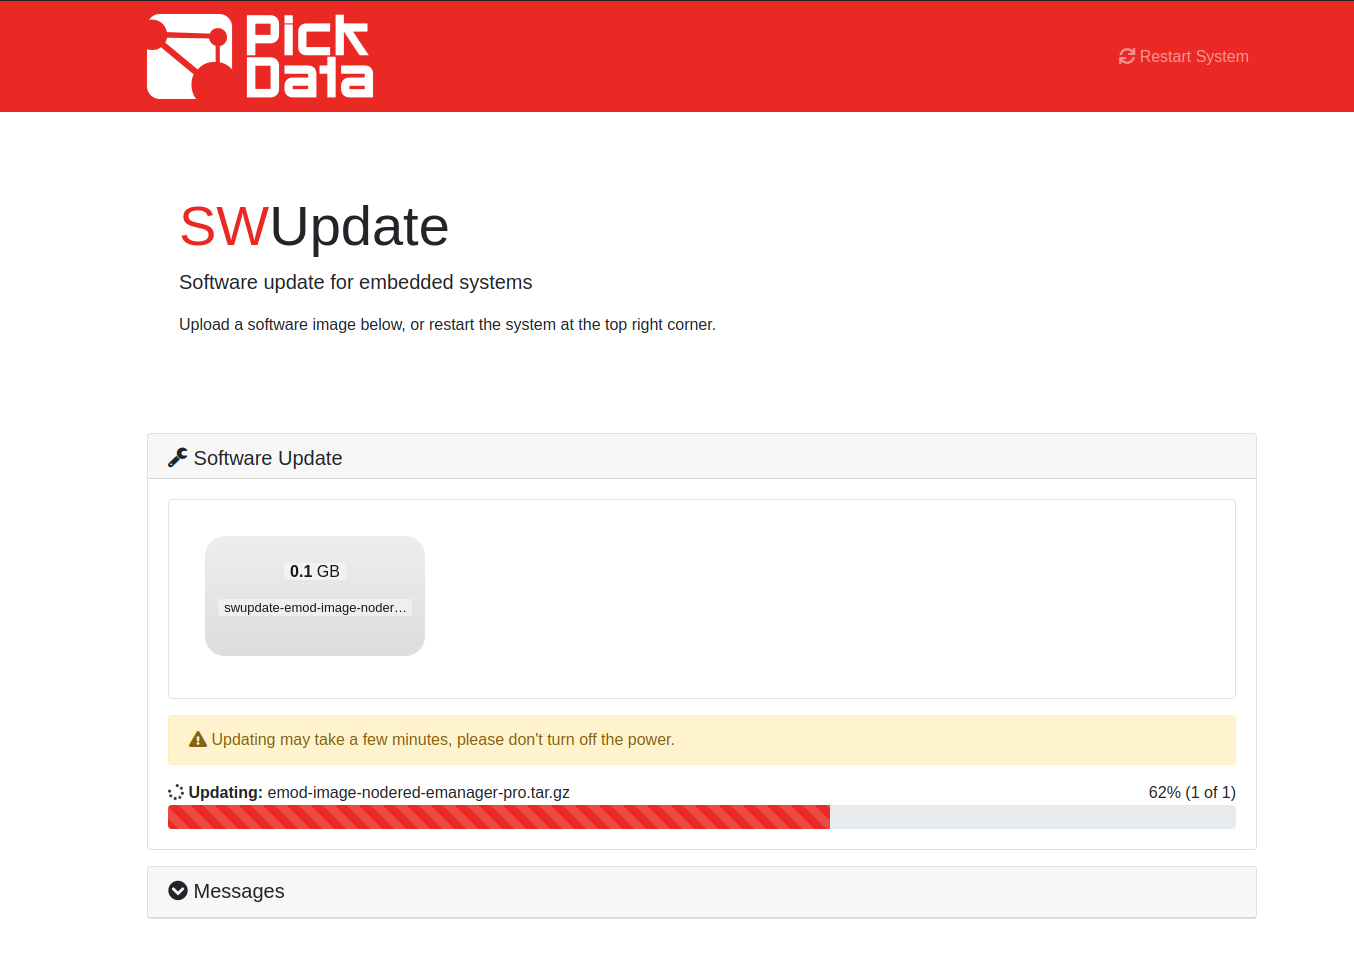
Note
The new image will be updated in the device. This process can take 1 or 2 minutes.
Caution
Do not turn off the power of the eManager during the process. It will reboot automatically, once the process has finished.