ChirpStack
New in image release 22.10.
ChirpStack is an open-source LoRaWAN Network Server which can be used to setup LoRaWAN networks. It is composed by 3 different services: an application server, a network server and a gateway bridge.
Package installation
To use ChirpStack, you need to install some dependencies.
First, update the eManager and install Influxdb and Mosquitto packages:
Then, install ChirpStack, which includes PostgreSQL installation, and some dependencies of contrib PostgreSQL:
Finally, install the PostgreSQL client, to configure databases:
PostgreSQL database configuration
1. Create database
First, stop all services related with ChirpStack:
systemctl stop chirpstack-application-server.service chirpstack-gateway-bridge.service chirpstack-network-server.service
Create the database environment using:
this command will create the database in the /var/lib/postgresql/data/ directory.
Then, start the PostgreSQL service and change the eManager user to postgres:
Finally, access to the postgres user:
2. Configure application server database
Access the PostgreSQL database client:
Create new user with username chirpstack_as with desired password:
where <PASSWORD> is the desired password for this user.
Then, create the database for the chirpstack_as user:
Access the new database created for ChirpStack application server:
Finally, enable required extensions and exit psql:
3. Configure network server database
Access the PostgreSQL database client:
Create new user with username chirpstack_ns with desired password:
where <PASSWORD> is the desired password for this user.
Then, create the database for the chirpstack_ns user:
Access the new database created for ChirpStack network server:
Finally, enable required extensions and exit psql:
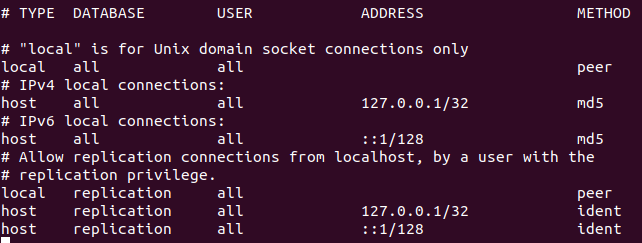
4. PostgreSQL databases configuration
Open the following file:
In the METHOD column, change ident for md5 in IPv4 local connections and IPv6 local connections:
ChirpStack configuration
If postgres user is active, exit to the root csationr:
1. Application server file configuration
Open the ChirpStack application server file:
In the [postgresql] section, change the dsn content for the following:
where <PASSWORD> is the password used to create chirpstack_as user.
In the [application_server.external_api], fill the jwt_secret content with the output generated when executing the following command:
A valid example would be jwt_secret="7VtnCUAhI+OhjMukF6tQ44n4j3zWrSk/CMhpPgrGAhw="
2. Network server file configuration
Open the ChirpStack network server file:
In the [postgresql] section, change the dsn content for the following:
where <PASSWORD> is the password used to create chirpstack_ns user.
3. Disable SWUpdate service or change ChirpStack port
First option is to disable SWUpdate service, since this service is using the 8080 port, the same as ChirpStack. To do so, use:
Otherwise, you can change the port that ChirpStack service is using. To do so, modify the following line in the ChirpStack service file /etc/chirpstack-application-server/chirpstack-application-server.toml:
4. Start ChirpStack service
To start and enable ChirpStack services use:
systemctl start chirpstack-application-server.service chirpstack-gateway-bridge.service chirpstack-network-server.service

systemctl enable chirpstack-application-server.service chirpstack-gateway-bridge.service chirpstack-network-server.service
5. Reboot eManager
To reboot the eManager, execute:
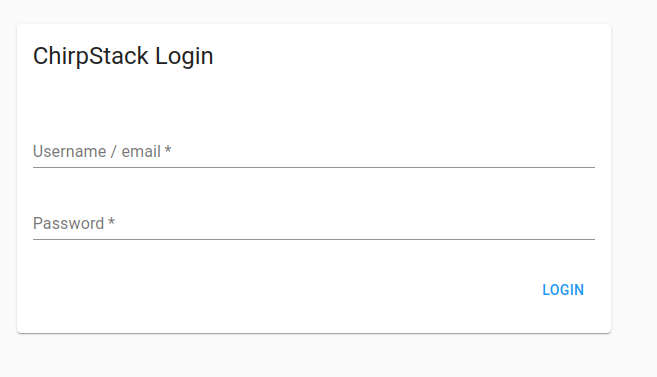
6. Access ChirpStack
Warning
Once you enter to the eManager after reboot, it may take a while to run ChirpStack
You only need to put URL <eManager-IP>:8080 in a browser and the image below should appear. The default username and password is admin.